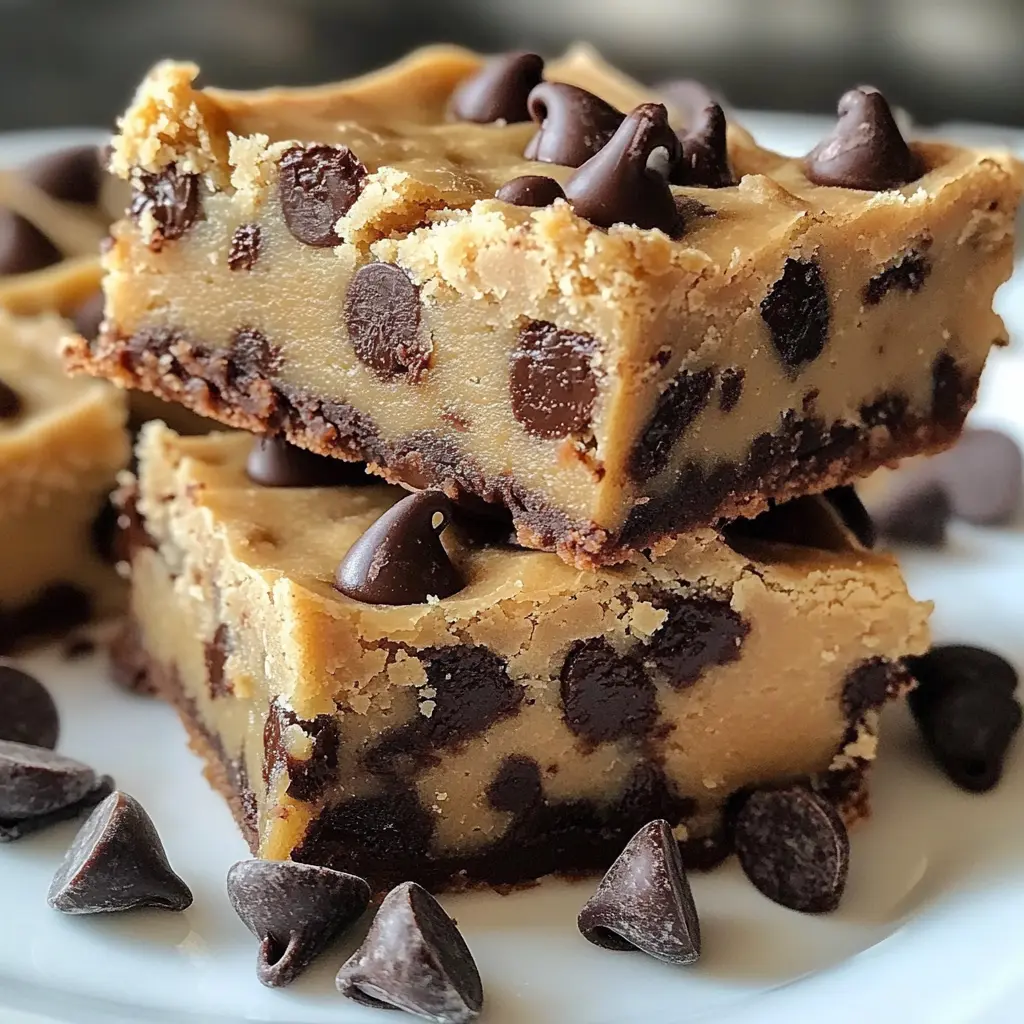
Ah, the joy of cookie dough! Growing up, I was the kid who didn’t care about the actual cookies. Nope! I just wanted to scoop out and munch on that gooey, sweet, raw goodness. You know, the stuff we all pretend we’ll bake, but inevitably just ends up being an amazing treat straight from the bowl. So, when I discovered the magic of No Bake Chocolate Chip Cookie Dough Bars, I was instantly transported back to my childhood. These bars are like a love letter to cookie dough, and the best part? They don’t even require turning on the oven!
These scrumptious bars are perfect for those days when you’re craving something sweet but don’t feel like dealing with the hassle of baking. They come together in a flash, and trust me, once you make them, you’ll be sharing them with friends and family—or not! No judgment if you want to keep them all for yourself; I certainly wouldn’t blame you!
What’s in No Bake Chocolate Chip Cookie Dough Bars?
Unsalted Butter: This creamy delight is the star of the show! It gives the bars that rich, decadent flavor. Make sure it’s softened so it blends beautifully with the sugars.
Brown Sugar: A generous cup of this sweet goodness adds moisture and depth to our bars. I always go for packed brown sugar – it’s how you get that chewy, melt-in-your-mouth texture!
Granulated Sugar: A little bit of sweetness to balance everything out! Classic white sugar works wonders here.
Vanilla Extract: This ingredient adds that unmistakable warmth and aromatic quality. I like to use pure vanilla for that extra touch of flavor.
All-Purpose Flour: The base of our cookie dough! Just remember, if you’re eating it raw, we’ll need to treat the flour for safety. I’ll explain that in a bit!
Mini Chocolate Chips: Because who says you can ever have too much chocolate? These little chips add bursts of sweetness throughout.
Salt: A pinch of salt balances all that sweetness perfectly and enhances the flavors.
Semi-Sweet Chocolate Chips: This is the dreamy topping that takes these bars over the edge. Melted to a silky smooth consistency, it transforms these bars into something truly indulgent.
Unsweetened Cocoa Powder: Just a little optional goodness to deepen the chocolate flavor of the bars. If you’re a chocolate lover like me, you’ll want to add this!
Is No Bake Chocolate Chip Cookie Dough Bars Good for You?
Well, let’s be honest: these bars are a delightfully indulgent treat, rather than a health food! But there are a few perks:
Butter: A source of healthy fats, as long as it’s consumed in moderation. It creates the rich flavor that makes you go back for seconds.
Brown Sugar: It contains a small amount of minerals due to its molasses content! Not that we’re counting here.
Mini Chocolate Chips: Dark chocolate chips contain antioxidants, so it’s basically like eating health food, right? I’m positive we can convince ourselves of that!
However, keep in mind that these bars are rich and sweet, so it’s best to enjoy them as an occasional treat rather than a daily snack. If you want to keep an eye on the sugar content, consider using sugar substitutes or variations of the recipe.
Ingredients List
– 1 cup unsalted butter, softened
– 1 cup brown sugar, packed
– 1/2 cup granulated sugar
– 1 teaspoon vanilla extract
– 2 cups all-purpose flour (remember to heat-treat it!)
– 1 cup mini chocolate chips
– 1/4 teaspoon salt
– 1 cup semi-sweet chocolate chips (for topping)
– 2 tablespoons unsweetened cocoa powder (optional, for a richer chocolate flavor)
*Yields approximately 16 bars*
How to Make No Bake Chocolate Chip Cookie Dough Bars?
1. In a large mixing bowl, beat the softened butter, brown sugar, and granulated sugar together until creamy and well combined. It’s like a fluffy cloud of happiness!
2. Add the vanilla extract and mix until incorporated—oh that smell!
3. Gradually add in the flour and salt, mixing until a soft dough forms. If you’re feeling adventurous and using cocoa powder, toss that in now too!
4. Stir in the mini chocolate chips until they are evenly distributed throughout the dough. You want chocolate in every bite, right?
5. Line an 8×8-inch baking dish with parchment paper or foil, leaving some overhang for easy removal. This will save you a world of trouble later!
6. Press the cookie dough mixture evenly into the prepared dish, smoothing out the top with a spatula. Go for that picture-perfect look!
7. Melt the semi-sweet chocolate chips in a microwave-safe bowl in 30-second intervals, stirring in between, until smooth. Chocolate magic, happening right here!
8. Pour the melted chocolate over the cookie dough layer and spread it evenly.
9. For a little extra pizzazz, sprinkle a few more mini chocolate chips on top. Who can resist?
10. Refrigerate for at least 1-2 hours, or until the chocolate is set. Patience, my friend—it will be worth it!
11. Remove from the dish using the edges of the parchment paper, cut into bars, and serve. Get ready for smiles!
Cookie Dough Creativity Corner
– Storage aficionados alert! These bars can be stored in an airtight container in the refrigerator for up to one week. If they last that long, that is!
– Feeling adventurous? Add chopped nuts or flavored extracts (like almond or orange) to the cookie dough for a surprising twist that’s sure to delight your taste buds.
– Remember that heat-treating your flour is a must if you’re indulging in the cookie dough raw. Pop it in the oven at 350°F (175°C) for about 5-7 minutes, let it cool, and you’re good to go!
So there you have it! No Bake Chocolate Chip Cookie Dough Bars that will take you back to your childhood in the best way possible. I encourage you to whip up a batch, take a moment to savor them, and then share them with friends and family. Or keep them all to yourself; no judgement here, I promise! I’d love to hear how yours turned out—happy baking (or rather, no baking)! 🍪✨


